Popped into my churning head today, through the doom and gloom, that it is high time to view Sirius and to try to split out The Pup, the extremely dim companion to the extremely bright parent.
Well that meant I had to find the special mask I had made, some time ago.
Lost in the entropy of my desk...
After a search of a few other possible spots, I decided to go back to the old notes. Dove into Evernote and located the entry last edited 1 May 2020. I had found an article on apodisation in a telescope.
Provider: SAO/NASA Astrophysics Data System (ADS)
Title: A systematic review of aperture shapes
Authors: Schultz, A. B. & Frazier, T. V.
Journal: Current techniques in double and multiple star research Lowell Observatory Bulletin (ISSN 0024-7057), no. 167, 1983, p. 36-38; Discussion, p. 39.
Courtesy: the Lowell Observatory
From wikipedia:
Apodization is used in telescope optics in order to improve the dynamic range of the image. For example, stars with low intensity in the close vicinity of very bright stars can be made visible.
Purportedly Herschel and Dawes used apodising diaphragms in the 1840s.
I had grabbed a snapshot from the paper showing the various mask designs. All featured a cross-member. The first family had a circle aperture with different inner and outer diameters. The second pair had a square aperture. And the last was based on a hexagon. It seemed that the square or diamond was best.
I recalled making a square mask template in Visio so I tracked down the file. Found in my double stars folder, surprise, surprise. Oh. Made on 6 Jan 2019. Makes sense. This is the time (seasonally) to think about challenging unequal double stars...
Fired up the ap. The vector drawings looked good.
This was the original diagram I made to envision the mask and establish the scale.
The second diagram I developed for the printing and cutting. But when I finished printing it, I realised I had overanalysed it. Unlike the Bahtinov style mask, I didn't need to cut dozens of openings. This was much simpler. I could work monolithic... This avoided cutting separate fine strips (the spider), the central square (occulting mask), and all the gluing. That was good. I couldn't find any paper glue...
I grabbed the Stanley box cutter, a backing plate, and Fancii close-up specs and set to work removing the thin L-shape pieces. Done!
Made a cylinder right on the dusty Meade ETX tube.
Oops, found a decayed elastic band on the 3D printed finder adapter. Installed a fresh band.
Repair done, I taped the mask in situ to the ring with Scotch Magic tape.
Fits snuggly but can be rotated.
Put my mitts on the Celestron 26mm Plössl ocular.
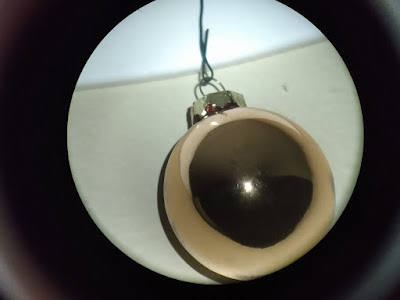
Did the seasonal tree ball decoration light-bounce trick with the single LED Rayovac torch.
Added the new mask to the OTA.
Look at those lovely long thin spikes! They are longer to the eye than in the photo! It works! Or, it should...)
OK. Ready for the next clear night.
Ah ha ha ha ha ha ha ha ha ha ha...
§
Pix with motorola e6.


No comments:
Post a Comment