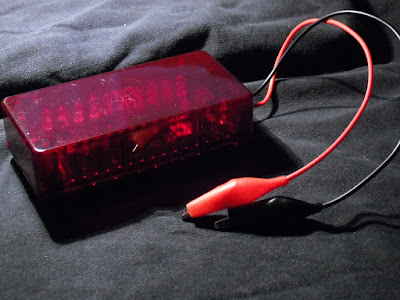
At last, I finished the Expanded Scale Voltmeter!
I started the build from Peter's kit back in July 2014. Discarding the long standoffs, I completed the case.
After I marked and scored the positions, I drilled four holes with a 7/64" bit in the "bottom" flat plate of the red project box. The first time the drill skated so I went slower on the others.
Put a metal pan-head slotted 12 mm M2.5 machine screws through cylindrical rubber bumper foot. Gotta have LRF support! Put the bolt through the case.
Affixed a #2 nylon 1/16" spacer on the bolt (a bit of a tight fit but it worked). These elevated the PCB from the back plate.
Mounted the printed circuit board and affixed a metal nut. Good clearances. Beauty!
Fired up the rotary tool and made a small mouse hole for the wire leads.
Had misplaced the countersunk Phillips screws for the project box and was about to steal a set from another box (the white one) and I found them! Sweet.
Tuesday, April 05, 2016
Subscribe to:
Post Comments (Atom)


No comments:
Post a Comment