Tried the fiber optic point source assembly again. With some mods.
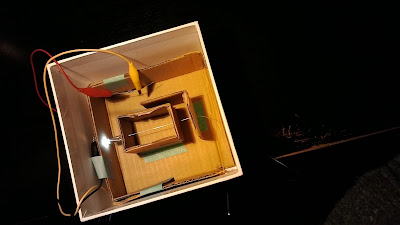
Additional baffle, on the right, to stabilise the strand. It was easier to align with the white LED. Wrapped a tube of aluminum foil around the emitter and strand. And, finally, enshrouded the fiber, as it emerged from the box, at the bottom right, in a short length of black shrink wrap.
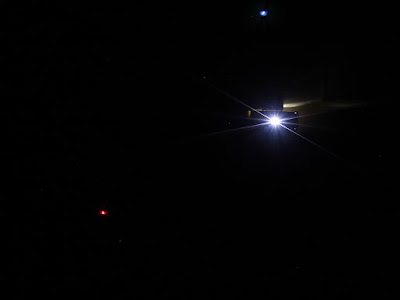
Moved the camera a bit to better centre the Y-mask. Look at this neat diffraction rings. Light like water... Ugh. Dirty filter.
Focused with the computer. Again, doable at 200% zoom, in the dark. But it didn't seem much better. Remembered this time, to expose at a low ISO to cut some of the noise. Meh.
Resistor was warm...
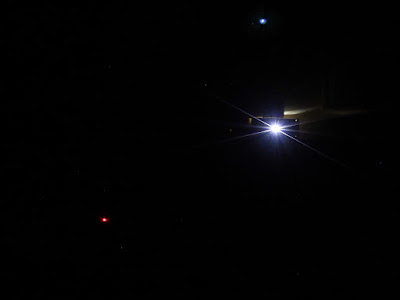
OK. Experiment 2. Simple: emitter; foil shield. Pin hole made with a small-diameter sewing fabric pin. Then aligned the shield at the centre bright spot of the emitter. A movable shield.
And I could tell, right away, it was way brighter. And bit bluish now too. Changed the white balance, from flash to daylight.
Some much easier! On the computer, at 100% zoom, it was still easier. The diffraction pattern was visible without Zoom View panel. This is much better.
Shut down the software on the computer and slid over to the camera itself. Hit the Set button. Zoomed in. Easy peasy.
More than enough light, I realised. In fact, I dropped the voltage from 7.5 to 6.0. Less strain on the LED. Also changed the angle slightly and tilting the box down a titch.
Shot at the camera, this last image, manually focused, eyeballed the Live View on the camera body. I.e. shot by hand, essentially without aid. Meaning, I didn't use a big computer monitor. And it was no problem. No ambiguity or doubt. I knew I had the focus before I pulled the trigger.
Clearly, the simple configuration is the best. And it will be easier to build!
The upshot of all this fiddling is that I have a working solution for a false star for focusing and collimation. Simple electronics: 9-11K white LED, resistor, power source. Thin metal shield with small pinhole.
§
So the next steps are to make some sort of opaque enclosure with the LED permanently mounted or fixed. It must not move. The front of the enclosure will have a movable shield.
Wondering about power. I've got it working at 6 volts so that means a small battery pack could work. And if I provide a common port for an external power source, it can be run off an adapter when near AC.
Don't think I have a black project box...
I'm also wondering about placement and angles. It might be quick useful that this could be mounted on a tripod.
Saturday, January 30, 2016
Subscribe to:
Post Comments (Atom)


No comments:
Post a Comment